How Do You Recover a Severely Clogged DTG Printhead Without Breaking It? | GNFEI
How Do You Recover a Severely Clogged DTG Printhead Without Breaking It?
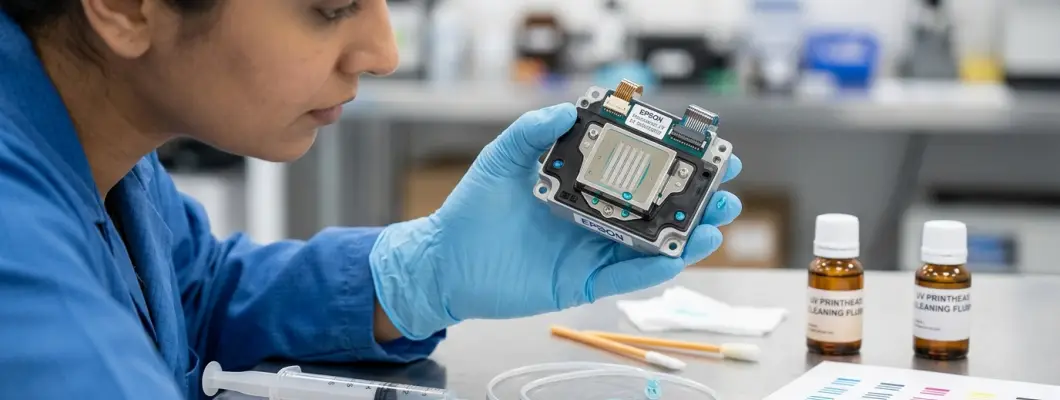
In professional direct-to-garment apparel printing, few scenarios induce more dread than executing a nozzle check pattern and finding entire white ink channels completely blank. After running four automated power head cleans that consume $30 of ink without recovering a single nozzle, the temptation to force the clog clear by any means necessary becomes overwhelming.
However, micro-piezo printheads are microscopic marvels of delicate micro-electro-mechanical systems (MEMS). Their internal channel walls are thinner than a human hair, separated by sub-micron piezoelectric actuator membranes and sealed with micro-epoxy bonds. Applying aggressive syringe pressure does not dislodge the clog; it violently ruptures internal channel barriers, permanently cross-contaminating ink chambers and turning a salvageable printhead into worthless scrap metal. Below, we detail the non-destructive engineering protocol to resurrect severely clogged printheads safely.
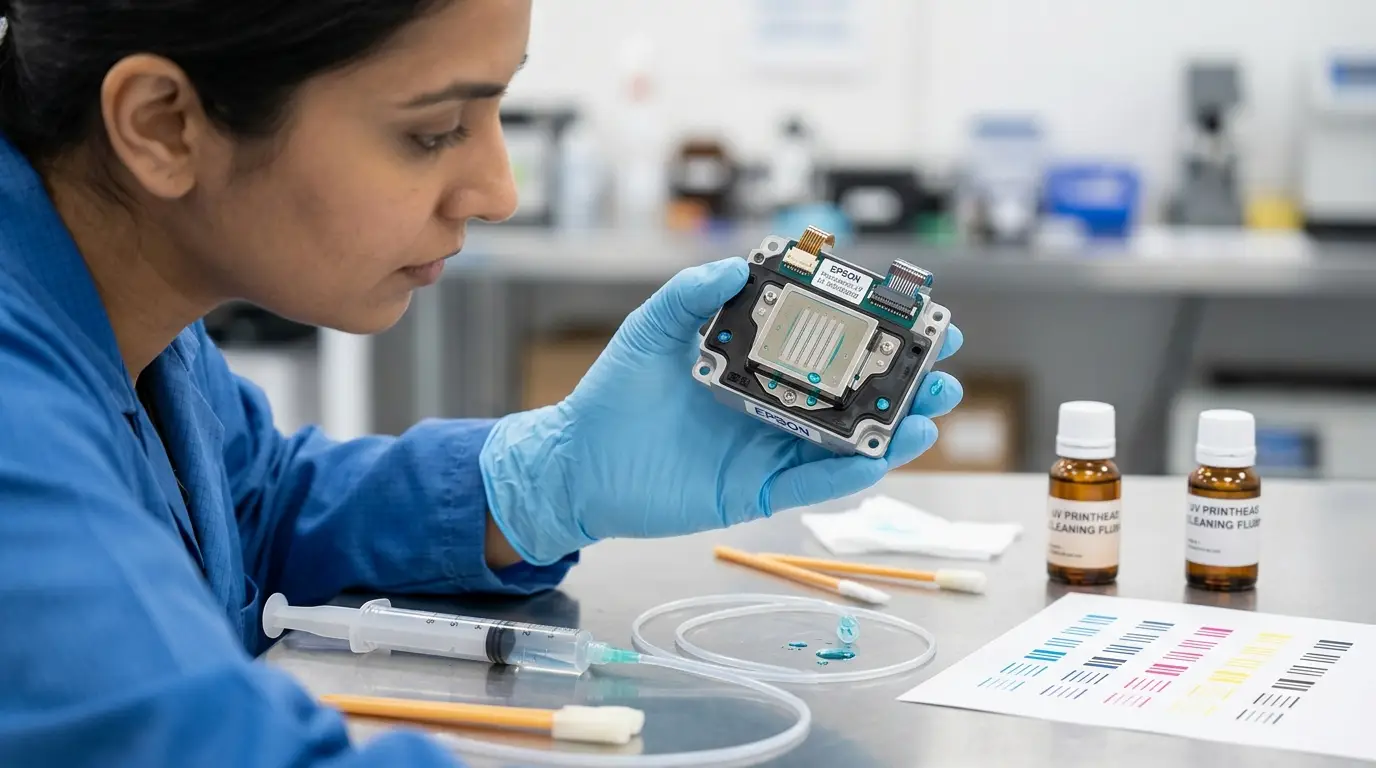
The Golden Safety Rules: How Operators Accidentally Destroy Printheads
Before picking up a single tool, every print shop technician must understand the mechanical failure points of piezo inkjet hardware. Over 85% of 'unrecoverable' printheads sent to recycling centers were not ruined by the ink clog itself, but by the destructive recovery methods used by well-meaning operators.
To ensure you do not turn a temporary blockage into permanent physical damage, memorize these four non-negotiable safety rules:
The critical hardware boundaries of modern micro-piezo printheads:
1. Never Exceed 5 PSI of Positive Pressure
Human hands can effortlessly generate 30 to 50 PSI with a standard 10ml syringe. Exceeding 5 PSI (0.35 bar) instantly ruptures internal silicon cavity walls (delamination), causing irreversible ink mixing between adjacent channels.
2. Never Push Clogs Deeper (Reverse Pull First)
Printhead nozzles taper down to 20 microns at the exit orifice. Forcing high pressure from the ink inlet drives clustered titanium dioxide boulders deeper into the conical constriction, jamming them like a tapered cork. Always draw backward first.
3. Keep Circuit Boards 100% Bone-Dry
A single droplet of conductive water-based cleaning fluid entering the flexible flat cable (FFC) connector or surface-mount electronics on the PCB will short-circuit driver transistors and fry the printer mainboard upon power-up.
4. Avoid Aggressive Industrial Solvents
Never use pure acetone, MEK, xylene, or harsh lacquer thinners. While they dissolve dried acrylic quickly, they also dissolve the structural epoxy resin holding the stainless steel nozzle plate to the ceramic manifold.
Anatomy of a DTG Clog: Soft Gel vs. Polymerized Acrylic vs. TiO2 Cake
Understanding what is physically obstructing your printhead dictates the correct chemical and mechanical recovery approach. Direct-to-garment textile inks do not clog like standard dye or UV inks; they suffer from three distinct physical failure mechanisms:
White textile ink consists of heavy titanium dioxide (TiO2) mineral particles suspended alongside acrylic latex co-polymers. When ink sits stagnant, these components separate and trigger specific blockage types:
The Deadly Cross-Linked Acrylic Skin
The most stubborn DTG clogs occur when water evaporates and triggers the self-crosslinking acrylic latex binders at room temperature. The binder cures into an insoluble, elastomeric polymer membrane. Water cannot dissolve this membrane; it requires specialized glycol ether solvents with high penetrating surfactants to swell, soften, and liquefy the polymer chains without damaging head adhesive bonds.
Simultaneously, settled titanium dioxide particles form an unyielding mineral cake directly above the internal micro-filter mesh screen. Attempting forward pressure compacts this mineral cake into an impenetrable hydraulic plug.
Printhead Recovery Triage SOP: Visualizing the Escalation Ladder
The technical roadmap below illustrates the systematic 4-stage recovery process, progressing strictly from the gentlest non-invasive method to advanced ultrasonic excitation:
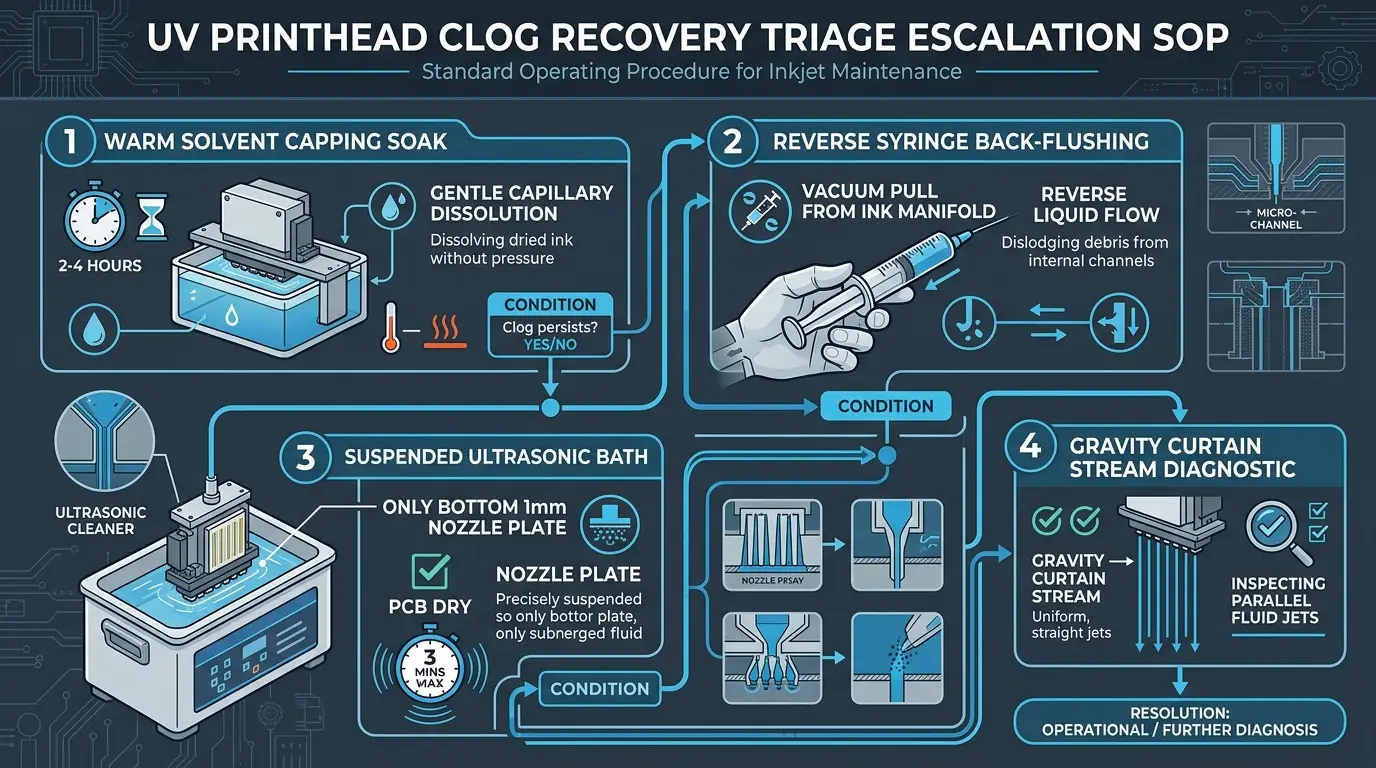
The 4-Tier Graduated Recovery Triage SOP: Step-by-Step Protocol
Never jump directly to aggressive techniques. Follow this standardized escalation ladder, stopping the moment clean nozzle firing is restored:
Carefully execute each tier in sequence:
Stage 1: Warm Capping Soak
Non-Invasive Capillary DissolutionFill the capping station with specialized DTG flushing solution warmed to 45°C (113°F). Park the carriage securely onto the wet cap. Allow the capillary action of warm glycol ethers to soften the nozzle face for 2 to 4 hours without applying external pressure.
Stage 2: Reverse Syringe Back-Flushing
Vacuum Extraction from InletAttach soft silicone tubing between a clean 10ml syringe and the ink manifold inlet nipple. Immerse the nozzle plate in 2mm of warm cleaning fluid. Pull the syringe plunger gently outward to create a mild vacuum, pulling clogs backward out of the nozzles.
Stage 3: Low-Pressure Gravity Curtain
Fluidic Waterfall DiagnosticElevate a syringe filled with warm flush fluid 15cm above the head, letting gravity alone drive the fluid down through the manifold. Observe the nozzle plate: a healthy channel will produce a straight, uniform 'rain curtain' of parallel micro-streams.
Stage 4: Suspended Ultrasonic Excitation
The Controlled Last ResortSuspend the printhead in an ultrasonic bath so that ONLY the bottom 1.0mm of the stainless steel nozzle plate touches heated solution (40°C). The PCB and side seams must remain completely elevated and bone-dry. Run 40kHz pulses for maximum 2-minute bursts.
Recovery Diagnostic Matrix: Visualizing Successful Restoration vs. Damage
Engineering criteria for evaluating printhead health during and after the recovery process:
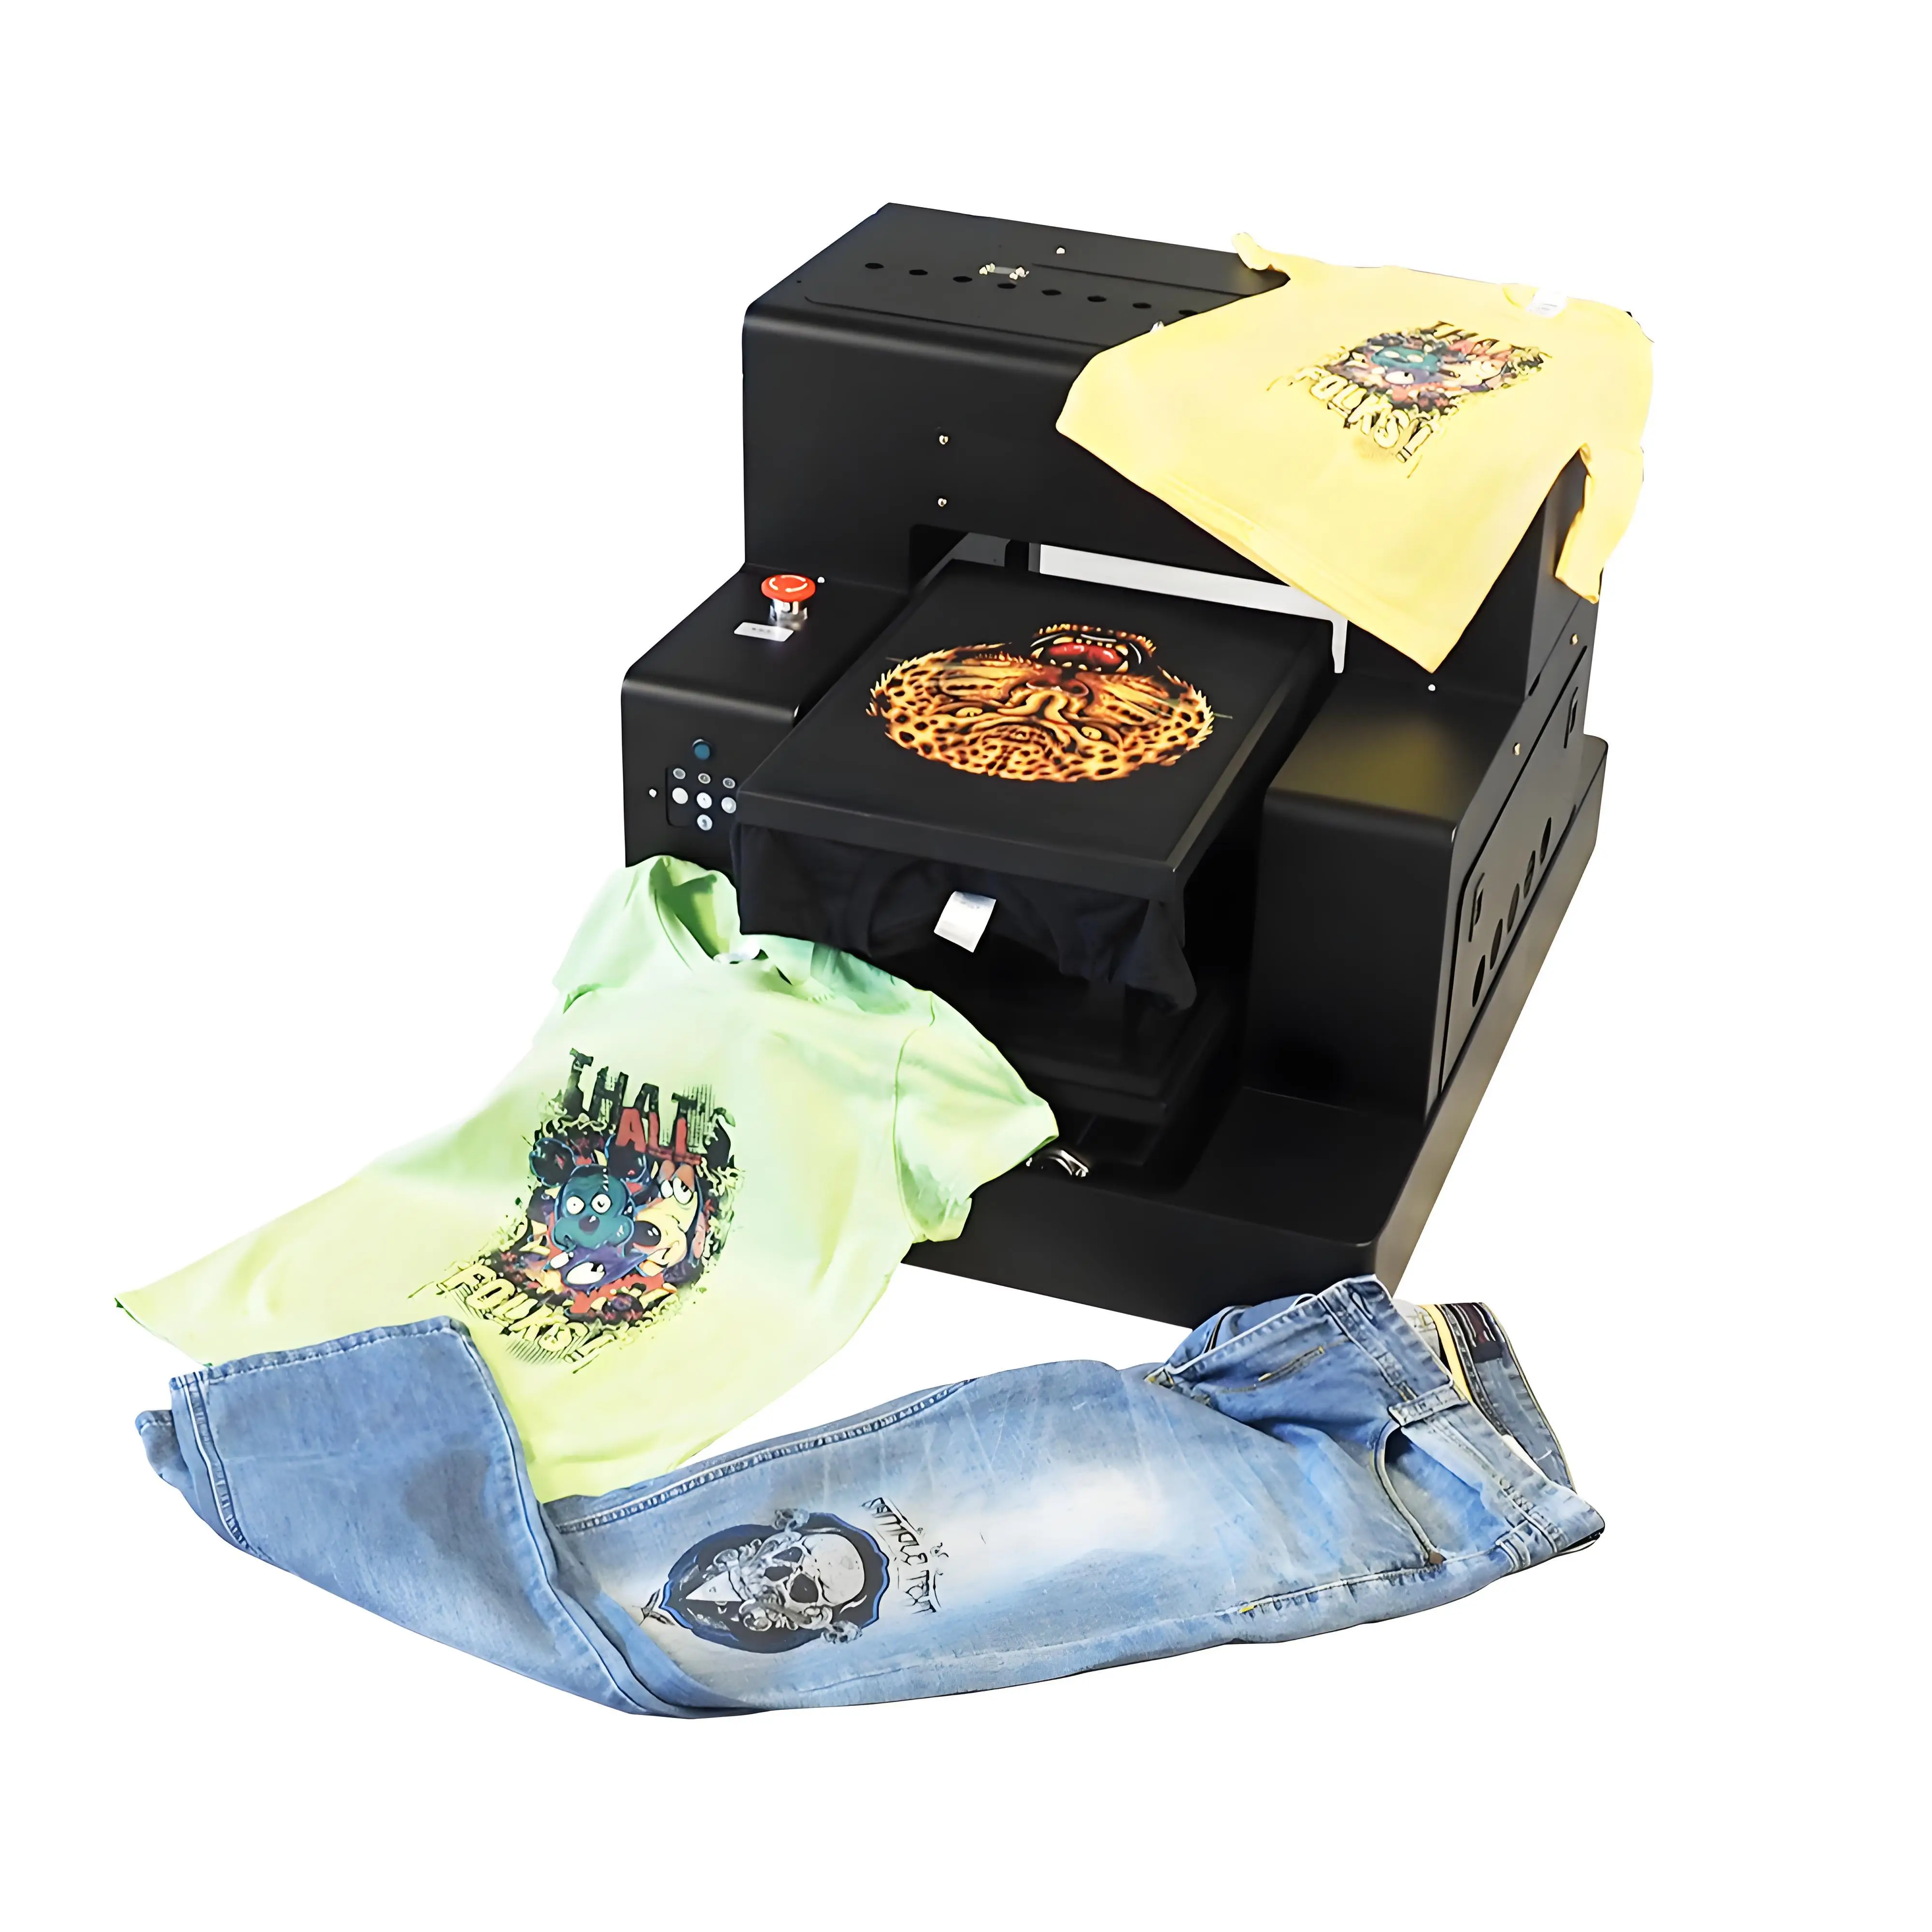
GNFEI F85G3 A3 DTG Garment Printer
Designed to prevent severe printhead blockages before they ever start. Features dual micro-piezo printheads, factory-integrated 24/7 closed-loop WIMS white ink circulation, and hermetically sealed silicone capping stations with automated anti-drying sleep modes.
Post-Recovery Assembly SOP: 4 Steps Before Reconnection
Resurrecting a clogged printhead is only half the battle. Reinstalling it incorrectly can destroy it within seconds. Follow this checklist before powering on:
Complete Thermal Dehydration of Electronic Boards
Even if you were cautious, invisible micro-droplets of fluid or moisture vapor may have condensed near the PCB. Place the printhead in a warm, dry area (35°C to 40°C) or use a gentle warm-air blower for at least 3 to 4 hours. Never power on a damp printhead.
Discard and Replace All Dampers
Never reuse old ink dampers on a recovered printhead. Dampers harbor settled titanium dioxide sludge and contaminated micro-mesh screens that will immediately reinfect your newly cleared nozzles within 10 minutes of printing.
Inspect Ribbon Cable Gold Pins with Magnification
Examine the gold contacts on the flexible flat cables (FFC). Ensure there is zero corrosion, ink staining, or bent pins. Spray contacts with quick-drying electrical contact cleaner and insert them perfectly perpendicular into the connector.
Perform Wet-Cap Prime and Initial Ink Fill
Fill the capping station with 5ml of cleaning fluid before parking the head. Once powered on, initiate a gentle initial ink charge or light clean to displace cleaning fluid with fresh, de-aerated textile ink.
Frequently Asked Questions: Recovering Clogged DTG Printheads
Q1. Can all clogged DTG printheads be recovered?
Not all. While 90% of dried ink clogs can be successfully dissolved using chemical and fluidic methods, heads that have suffered physical electrical burnout, nozzle plate delamination from excessive syringe pressure, or physical scratches from carriage crashes are beyond repair.
Q2. Why is forward syringe flushing so dangerous for printheads?
Forward flushing pushes fluid in the direction of the narrowing 20-micron nozzle funnel. If a hardened particle of titanium dioxide or polymer skin cannot pass, fluid pressure rapidly spikes to over 20 PSI, blowing out internal cavity membranes and permanently destroying the head.
Q3. What is printhead delamination and what are the symptoms?
Delamination occurs when high hydraulic pressure ruptures the epoxy bond separating adjacent ink channels inside the printhead. Symptoms include ink bleeding between channels (e.g. white ink pouring out of black nozzles) and zero resistance when pushing fluid through a syringe.
Q4. Can I use Isopropyl Alcohol (IPA) to soak a DTG printhead?
Never use pure Isopropyl Alcohol. IPA acts as a harsh desiccant that accelerates the drying and hardening of water-based acrylic latex binders. Furthermore, IPA attacks the adhesive seal bonding the stainless steel nozzle plate to the printhead body.
Q5. What chemical cleaning solution is safest for DTG printheads?
Use specialized water-based DTG printhead cleaning solution containing glycol ethers (such as diethylene glycol monobutyl ether), non-ionic surfactants, and humectants. Warming the solution to 40°C–50°C (104°F–122°F) increases its solvency dramatically.
Q6. How long can I safely leave a printhead soaking in cleaning solution?
A passive capping station soak can safely last 12 to 24 hours provided the cleaning solution is non-corrosive. However, never leave an open printhead fully submerged in an unmonitored bath where fluid can creep up into the circuit board via capillary action.
Q7. Is an ultrasonic jewelry cleaner safe for cleaning a DTG printhead?
It is only safe if used as a strict last resort with exact precision: suspend the head so that ONLY the bottom 1.0mm of the metal nozzle plate touches the fluid. Running ultrasonic waves for more than 2 to 3 minutes can shake loose the delicate piezoelectric crystal bonding elements.
Q8. How do I know if my printhead circuit board got wet?
Visually inspect the FFC ribbon cable sockets using a flashlight and 10x jeweler loupe. If you see any fluid sheen or moisture, do not plug it in. Use 99% anhydrous alcohol to displace water, then dry thoroughly with compressed warm air for several hours.
Q9. Why must dampers be replaced whenever a head is recovered?
Dampers contain built-in 5-micron stainless steel filter meshes. Once titanium dioxide pigment sediments inside those meshes, no amount of back-flushing can guarantee 100% cleanliness. A $10 damper protects a $1,000 printhead from immediate re-clogging.
Q10. What is the 'Gravity Curtain Test' and why is it recommended?
The gravity curtain test involves allowing warm flush solution to drain through the printhead using only the weight of fluid from an elevated syringe. Because zero manual pressure is applied, it safely reveals whether nozzles are jetting straight and parallel without risking membrane blowout.