Why Is My White Ink Coming Out Watery, Translucent, or Gray? | GNFEI
Why Is My White Ink Coming Out Watery, Translucent, or Gray?
Nothing is more disheartening in a custom garment shop than loading a premium black t-shirt, sending a vibrant graphic file through the RIP software, and watching the printer lay down a weak, watery, translucent film that looks more like skim milk than solid white ink.
When the white underbase fails, the entire print is ruined. CMYK colors laid on top appear muted, muddy, and washed-out. While many operators hastily blame 'bad ink batches' or 'clogged printheads', senior printing technicians know that weak white opacity is almost always an operational chemistry failure. Below, we dissect the four root causes and detail exact corrective procedures.
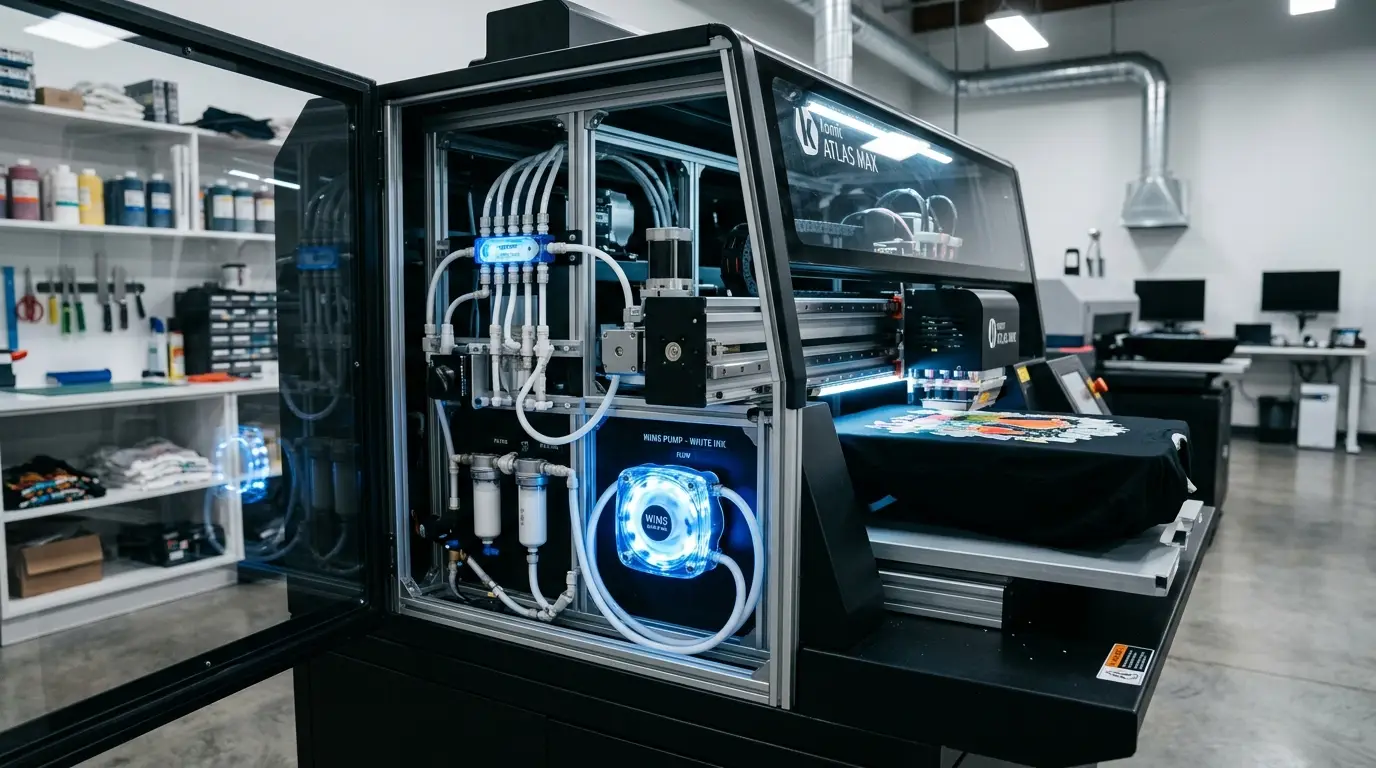
The 3 Symptoms of Weak White Ink & What They Reveal
Before replacing parts or re-profiling RIP curves, diagnose the exact visual manifestation of your print failure. Each distinct visual defect points directly to a specific mechanical or chemical breakdown:
Analyzing the three primary visual failure modes:
The visual failure categories of DTG white ink:
1. Watery & Runny White (Supernatant Ink)
The ink discharges as a thin, clear fluid with faint milky swirls. It pools on the garment surface without body or viscosity. This symptom indicates severe pigment settling in the supply bottle, main lines, or dampers, where only the liquid carrier is being jetted.
2. Translucent & Faint White (Pretreatment Failure)
The ink ejects normally from nozzles, but upon striking the black fabric, it instantly sinks into the weave and vanishes. The shirt shows through prominently. This indicates insufficient pretreatment salt concentration or excessive pre-dilution.
3. Muddy Gray or Discolored White (Migration / Contamination)
The white underbase appears solid immediately after printing, but turns dingy gray, brown, or pink after heat press curing. This points directly to polyester disperse dye migration or capping station cross-contamination from adjacent black/cyan nozzles.
Root Cause 1: Titanium Dioxide (TiO2) Stratification in Tanks & Lines
White digital textile ink is not a true chemical solution; it is an engineered colloidal suspension. The brilliant white opacity is created exclusively by crystalline titanium dioxide (TiO2) nanoparticles.
Understanding the physical sedimentation behavior of dense mineral pigments:
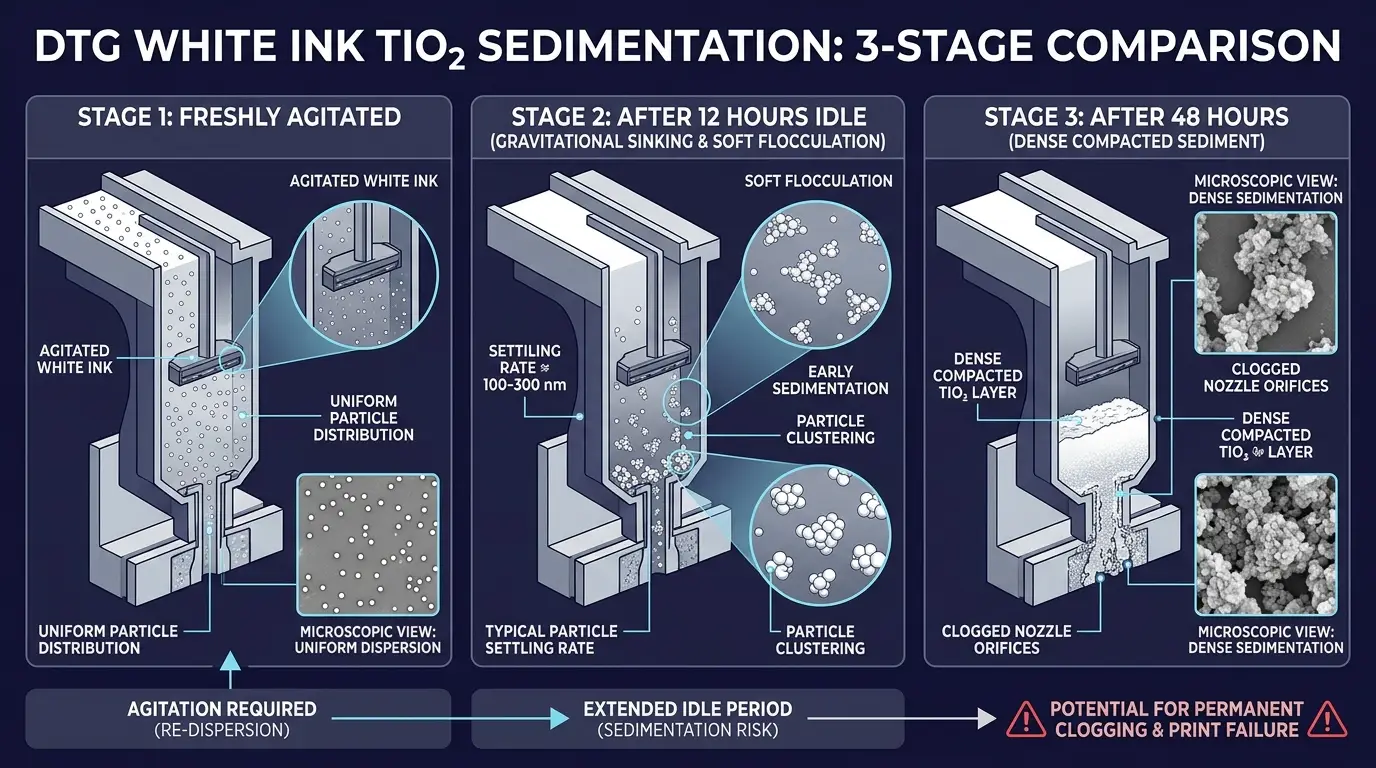
The Physics of Sedimentation Silt
Titanium dioxide has a specific gravity of approximately 4.2 g/cm3, compared to deionized water and humectant glycols at ~1.05 g/cm3. Without active agitation, gravity causes the dense TiO2 particles to settle downward at a rate governed by Stokes' Law. Within 12 to 24 hours of standing still, an ink container separates into two distinct layers: a thick, chalky sludge layer at the bottom, and a clear, translucent 'supernatant' liquid at the top containing only water, glycols, and soluble acrylic binders. If you print without vigorously shaking the bottle or running active tank circulation, the siphon tube draws the clear supernatant liquid directly into the printhead. You are literally jetting clear water and resin with virtually zero white pigment.
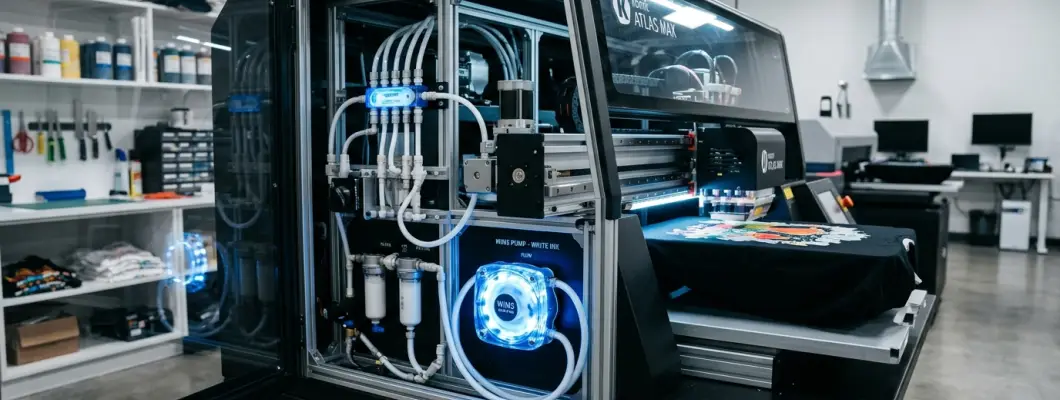
This is why shaking white ink bottles for 60 seconds before filling tanks and running active White Ink Management Systems (WIMS) for 10-15 minutes every morning is an indispensable operating requirement.
Chemical Interaction & Sedimentation Phase Progression
The technical diagram below illustrates how titanium pigment separates from carrier fluid over time, and demonstrates how inadequate pretreatment allows uncoagulated ink droplets to sink into fabric fiber pores:
Root Causes 2, 3 & 4: Pretreatment, Heat Pressing, and Dye Migration
If your ink bottle was thoroughly shaken and white dampers are full of opaque ink, but prints still look translucent or gray, the fault lies in fabric preparation and curing.
Analyzing chemical interactions outside the printhead:
Pretreatment Starvation: Lack of Surface Flash-Freeze
Under-Application DefectPretreatment fluid contains multivalent calcium salts. When acidic salt ions contact alkaline water-based ink, they destabilize the acrylic latex emulsion, causing the white ink to instantly flash-freeze into an opaque solid sheet on the top of the fabric fibers. If too little pretreatment is applied (<18g on a 14x16 area), ink droplets remain liquid and soak into the core of the shirt.
Wet Shirt Syndrome: Printing on Damp Pretreatment
Water Dilution DefectOperators in a rush often print before pretreatment is 100% dry. When liquid white ink strikes damp cotton fibers, it immediately mixes with the residual water, diluting the pigment volume concentration and creating a fuzzy, watery, translucent watercolor effect.
Thermal Dye Migration: Polyester Disperse Dye Sublimation
Heat Press GrayingOn 50/50 poly-blends or 100% polyester apparel, commercial fabric dyes undergo thermal sublimation at temperatures above 140°C (284°F). During heat press curing at standard cotton temperatures (160°C/320°F), black and red polyester dyes gasify and bleed directly into the white ink layer, turning crisp white into dirty cement gray.
Capping Station Cross-Contamination: Wiper Drag
Nozzle Mixing DefectA swollen wiper blade or ink-flooded capping station fails to isolate colors during cleaning purges. The wiper drags wet black or cyan ink across the white nozzle plate, injecting microscopic dark pigments into white nozzle apertures. The first 10-20 shirts exhibit dull, grayish white prints.
Comprehensive DTG White Ink Diagnostic Matrix
Step-by-step diagnostic guide to isolate root causes and implement permanent fixes:
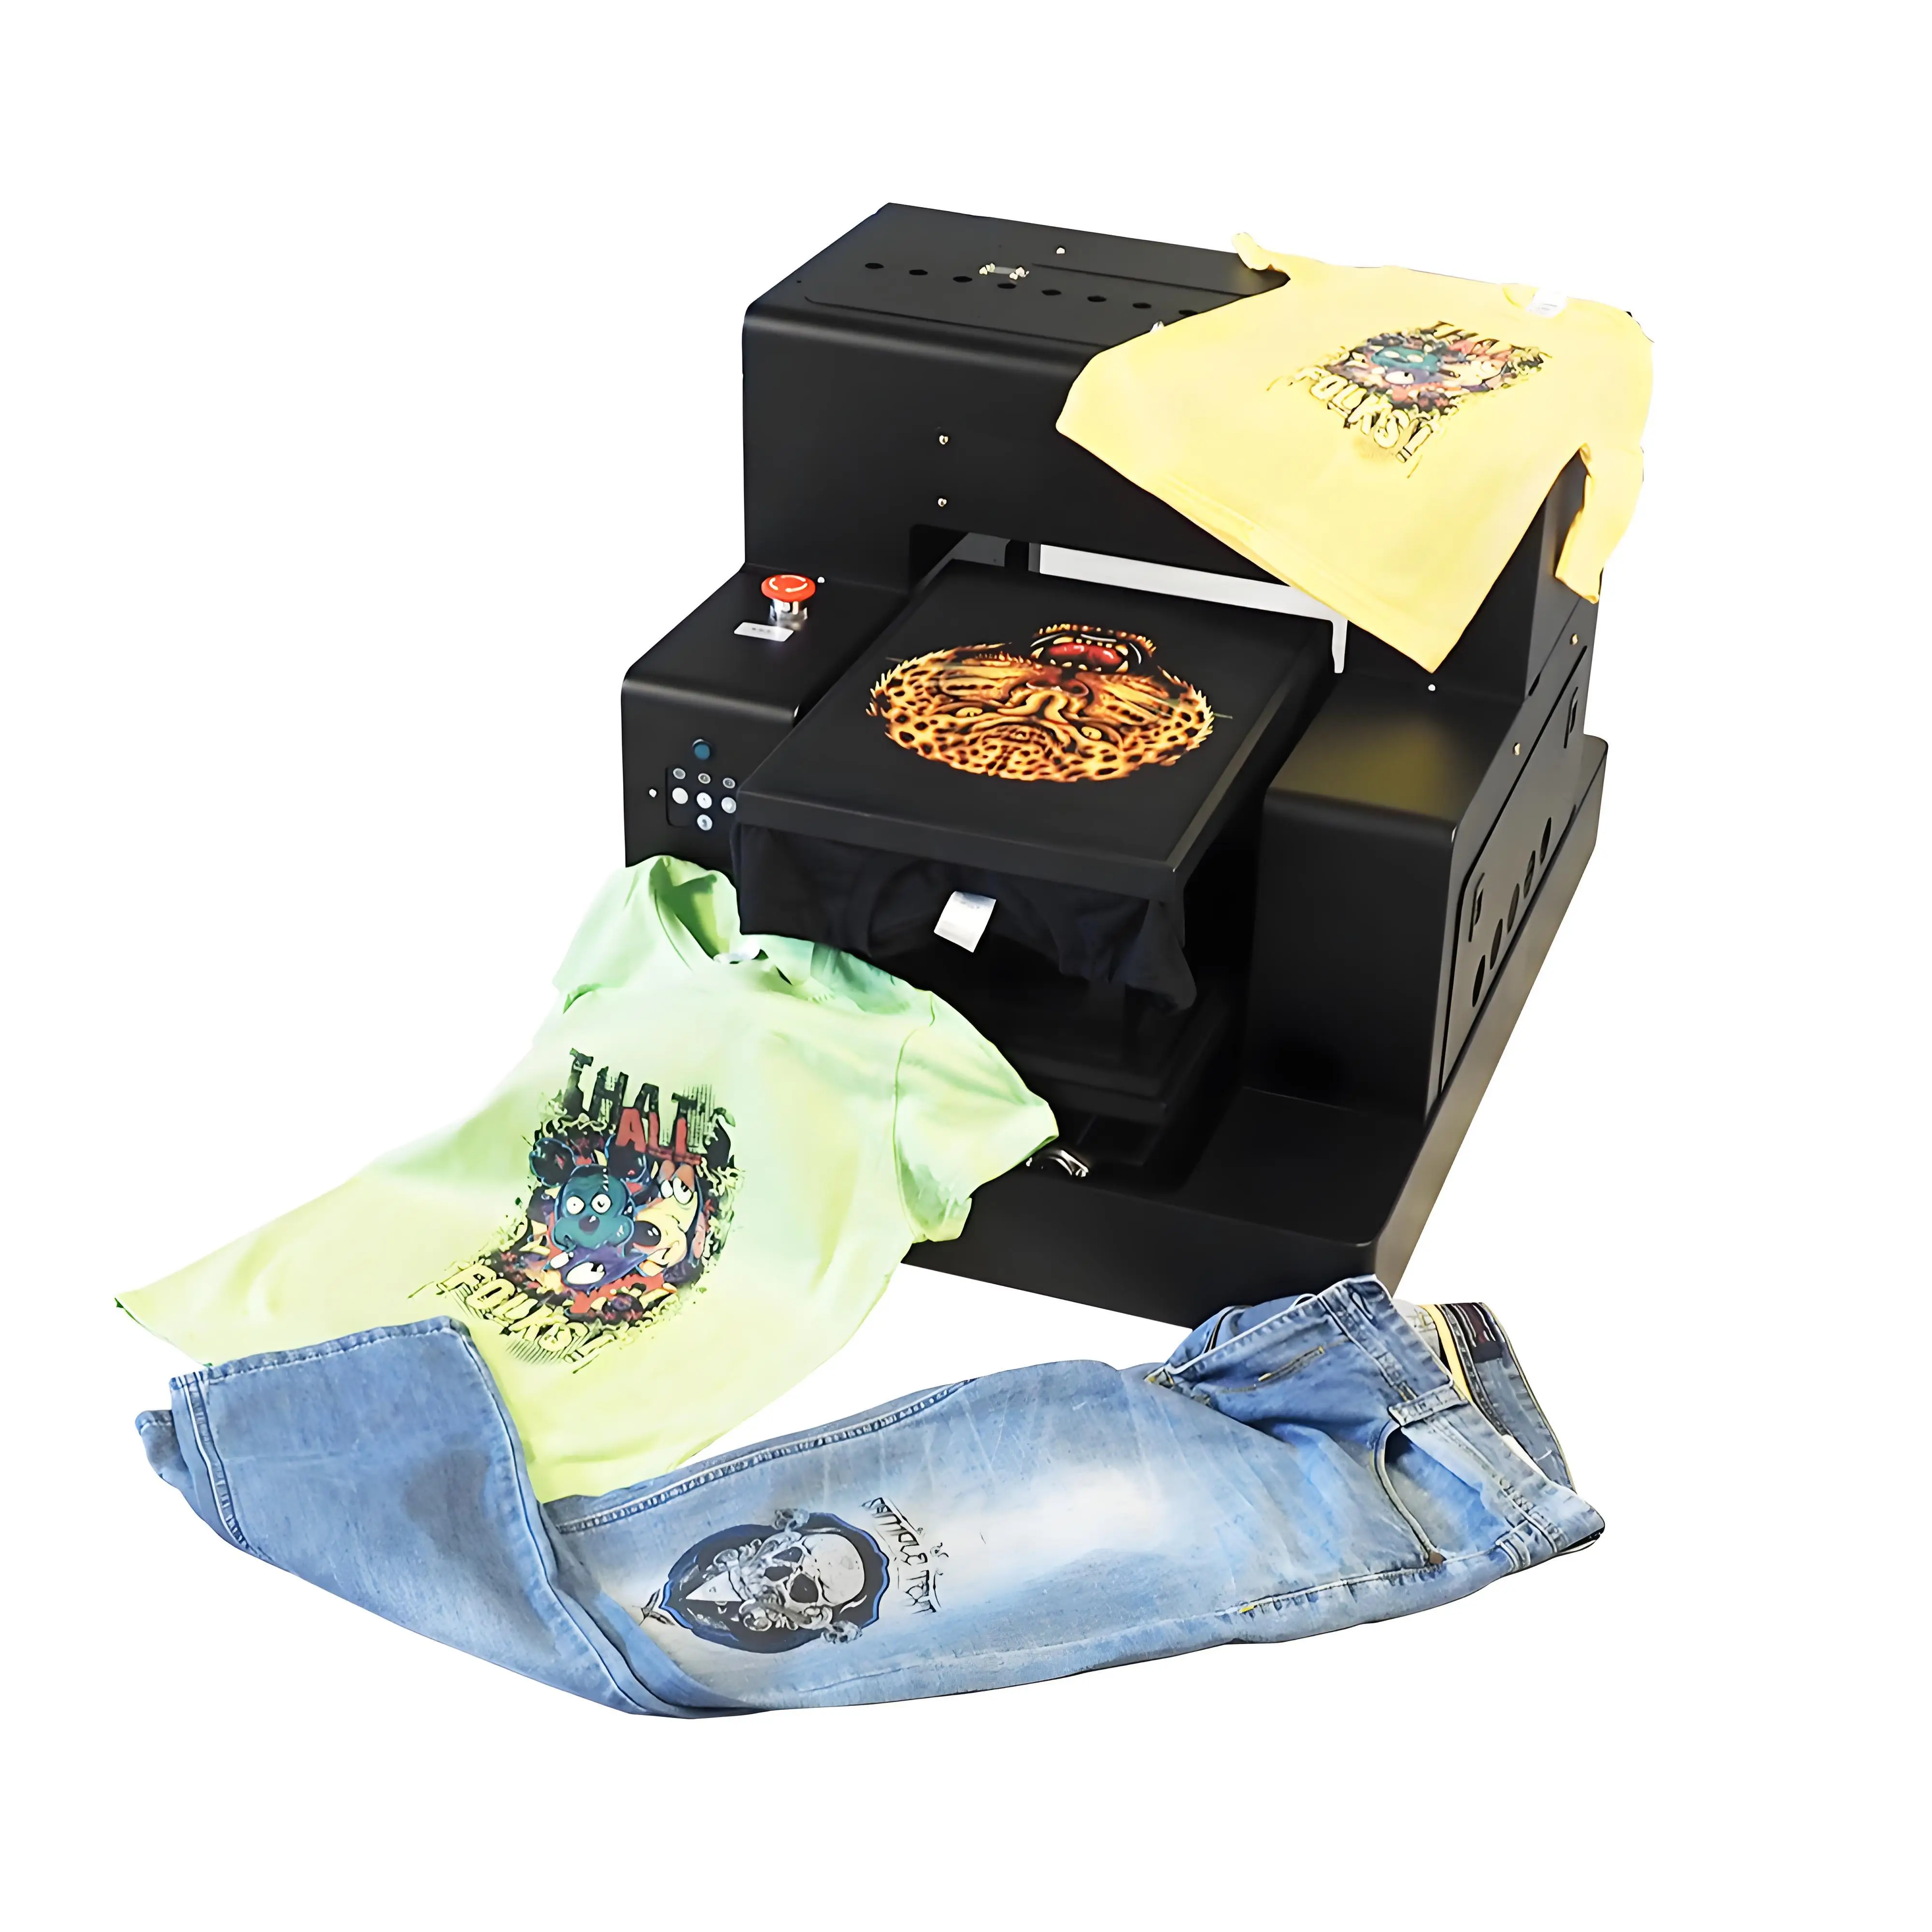
GNFEI A3 Flatbed DTG T-Shirt Printer (Epson XP600 / L1800 Engine)
Features automated timed WIMS white ink circulation, high-precision micro-piezo drop control, and modular quick-change dampers. Engineered to deliver brilliant, opaque, wash-fast white underbases on dark cotton and blend apparel with zero settling issues.
5-Step Restoration SOP: Getting Pure, Opaque White Prints
Follow this standard operating procedure to restore maximum white ink opacity and brilliance:
Vigorous Bottle Agitation & WIMS Recirculation
Shake your white ink bottle for 60 seconds before pouring. Power on the printer and engage the WIMS active circulation pump for 10 to 15 minutes to resuspend any settled TiO2 in lines and sub-tanks.
Pre-Prime Dampers to Purge Stagnant Supernatant Fluid
If the printer sat idle for more than 48 hours, disconnect white dampers and use a luer-lock syringe to draw 15-20ml of ink through the lines until dense, brilliant white liquid flows smoothly into the syringe barrel.
Calibrate Pretreatment Weight with Digital Scale
Weigh your blank t-shirt on a gram scale before spraying. Apply pretreatment until the shirt gains exactly 20 to 25 grams of fluid (for a standard 14x16 adult print area). Use a foam roller to press down loose cotton fibers.
Ensure 100% Bone-Dry Curing Before Printing
Press the pretreated garment at 160°C (320°F) for 40 to 50 seconds with medium-heavy pressure. Hover the heat press for 10 seconds first to vent steam, then press. Never print on a cool or clammy garment.
Clean Wiper Blade & Capping Seal Lip
Use a lint-free foam swab moistened with official DTG cleaning solution to wipe away pooled dark ink from the wiper blade and capping rubber rim, preventing cross-color contamination during auto-cleanings.
Frequently Asked Questions (FAQ) on DTG White Ink Opacity
Q1. Why does my white ink look bright on the computer screen but dull on the shirt?
A computer screen emits direct RGB light, whereas a printed t-shirt relies on reflected light. If your white ink lacks density due to pigment settling or insufficient pretreatment, the dark fabric absorbs light, resulting in a dull, muted appearance.
Q2. How long can white DTG ink sit in the bottle before settling begins?
Because titanium dioxide is heavy (~4.2 g/cm3), initial stratification begins within 6 to 12 hours. After 48 hours without agitation, significant pigment settling occurs, requiring vigorous shaking for 60 seconds to restore uniform dispersion.
Q3. Can I add distilled water to my white ink if it seems too thick?
No! Never add water to DTG ink. Water destroys the delicate balance of surfactants, humectants, and biocides, causing the acrylic binder to destabilize and precipitating severe nozzle clogs. Use only manufacturer-approved diluents or flushes.
Q4. How much pretreatment should I apply to a black cotton t-shirt?
For a standard adult print area (14x16 inches), apply 20 to 25 grams of liquid pretreatment. Lightweight t-shirts (under 150 GSM) require ~18-20g, while heavy fleece hoodies may require 28-32g for complete surface coverage.
Q5. Why does my white ink turn yellow or brown after heat pressing?
Scorching or yellowing is usually caused by excessive heat press temperature (>170°C), pressing for too long (>90 seconds), or using an incompatible pretreatment formula. Reduce temperature to 155°C-160°C and verify garment fiber content.
Q6. What is dye migration, and how do I prevent it on dark poly-blend shirts?
Dye migration occurs when synthetic disperse dyes in polyester fibers sublimate into gas under heat press temperatures and tint the white ink. Prevent it by using low-bleed polyester pretreatment and curing at lower temperatures (130°C-140°C).
Q7. Can old or expired white ink cause translucent prints?
Yes. Over time (typically 6-12 months past manufacture), ink suspension agents degrade. The titanium particles agglomerate into dense sediment that cannot be resuspended, leaving the remaining fluid permanently deficient in pigment.
Q8. Why does my white print feel stiff and rubbery like a plastic shield?
A heavy, stiff hand-feel is caused by over-saturating the garment with white ink (RIP white choke / density set too high) or over-applying pretreatment. Optimize RIP underbase density curves to 60-75% for optimal softness and opacity.
Q9. How do I know if my RIP software underbase settings are causing gray prints?
If the RIP white underbase is set to a low resolution (e.g. 720x720 dpi with low droplet weight) or the white channel curve is suppressed below 50%, the printer simply will not lay down enough droplet volume to cover dark fabric fibers.
Q10. Why does my white ink wash out or fade after the first laundry cycle?
Wash-out is caused by incomplete ink curing or under-pretreated fabric. Ensure the final print is heat-pressed at 160°C (320°F) for 90 to 120 seconds with light pressure and a protective silicone sheet to fully cross-link the acrylic latex resin.