Why Are My DTF Transfers Cracking or Peeling?(And How to Fix It)
Why Are My DTF Transfers Cracking or Peeling?
(And How to Fix It)
Nothing ruins a custom apparel order faster than a print that cracks or peels off after the first wash. If your customer calls to complain that their design is lifting off, or that the print is splitting when stretched, you are dealing with a bonding failure. Fortunately, these errors are preventable. In this guide, we diagnose the **root causes of DTF cracking and peeling** and provide the step-by-step solutions to ensure retail-grade durability.
The 4 Root Causes of DTF Bonding Failures
A durable DTF print relies on a perfect bond between fabric fibers, melted adhesive powder, and cured ink. A failure in any of these areas leads to immediate issues.
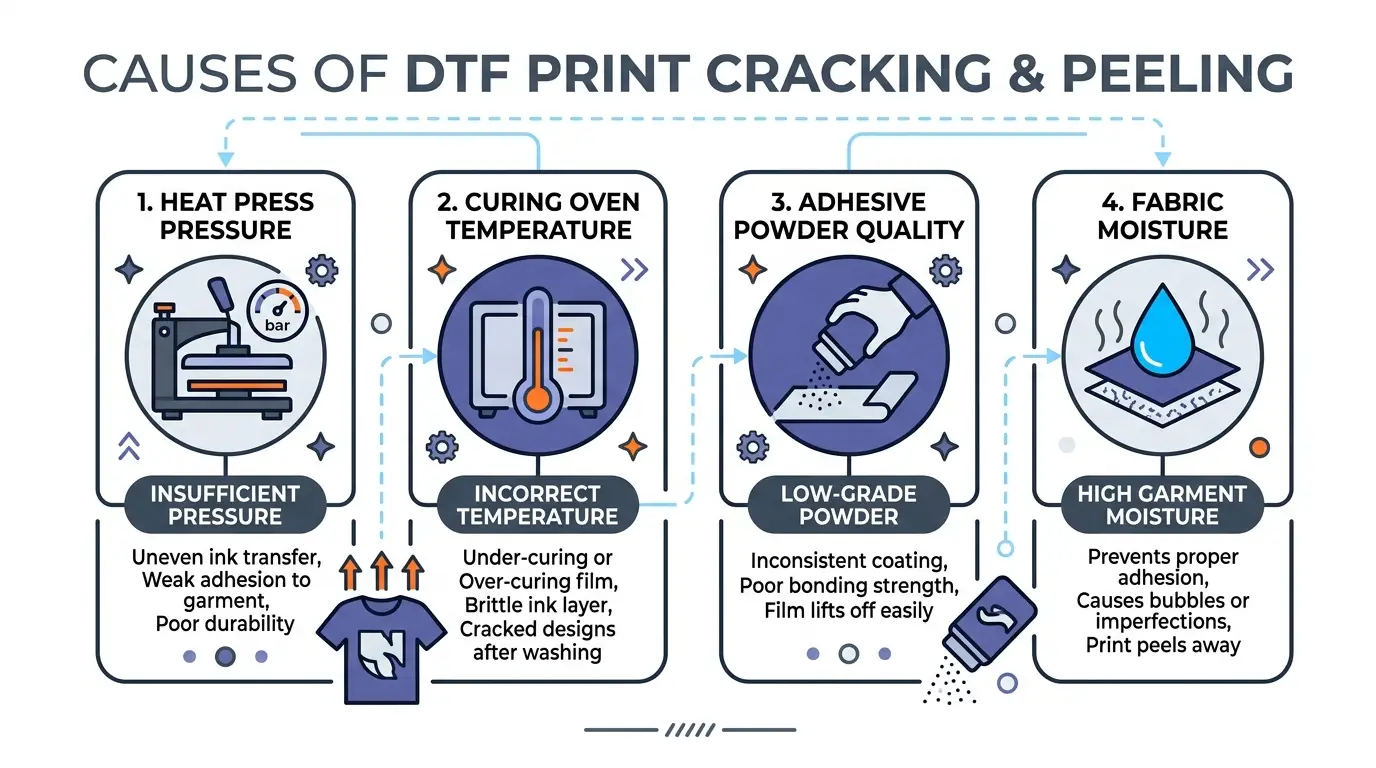
Figure 1: The four diagnostic factors behind cracked or peeling DTF prints
To fix these issues, we must analyze the process into four main areas:
- Insufficient Heat Press Pressure: Without heavy pressure, the melted adhesive cannot fuse into the weave of the fabric.
- Incorrect Curing Temperature: Under-curing leaves the adhesive powder dry, while over-curing burns the ink layer and makes it brittle.
- Low-Grade Adhesive Powder: Cheap, moisture-saturated powder loses its elastic qualities and bonding strength.
- Garment Moisture: Moisture trapped in the fabric prevents the adhesive from bonding directly with the cotton threads.
Optimal Curing & Pressing Settings
Most failures happen during the curing or heat pressing stage. Follow these parameters to achieve consistent, crack-free results.
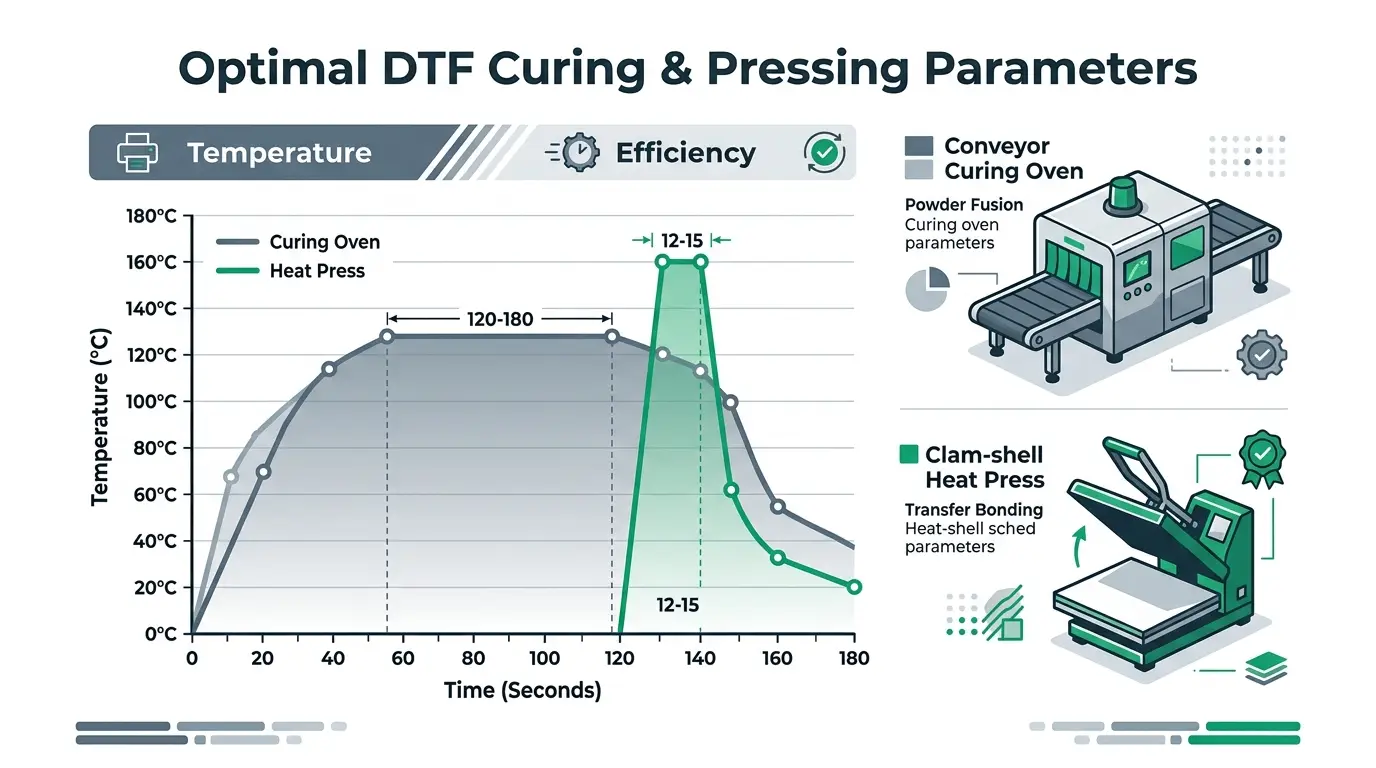
Figure 2: Optimal time and temperature parameters for curing powder and heat pressing transfers
| Process Step | Optimal Temperature | Time Duration | Pressure & Force |
|---|---|---|---|
| Adhesive Curing (Oven) | 110°C – 130°C (230°F – 266°F) | 120 – 180 Seconds | None (Static Oven) |
| Garment Pre-Press | 150°C – 160°C (300°F – 320°F) | 5 – 8 Seconds | Medium (3–4 bar / 45–60 PSI) |
| Transfer Application (Press) | 150°C – 160°C (300°F – 320°F) | 12 – 15 Seconds | Heavy (5–6 bar / 70–90 PSI) |
| Garment Post-Press | 150°C – 160°C (300°F – 320°F) | 5 – 8 Seconds | Heavy (5–6 bar / 70–90 PSI) |
The "Orange Peel" Rule: When curing the adhesive powder on the film, look for a uniform, glossy, textured finish resembling the skin of an orange. If you see dry spots of white powder, it is under-cured. If the film is yellowing or bubbling, it is over-cured.
Peeling Techniques: Hot Peel vs. Cold Peel Film
Using the wrong peeling technique for your PET film type is a common cause of peeling and print damage.
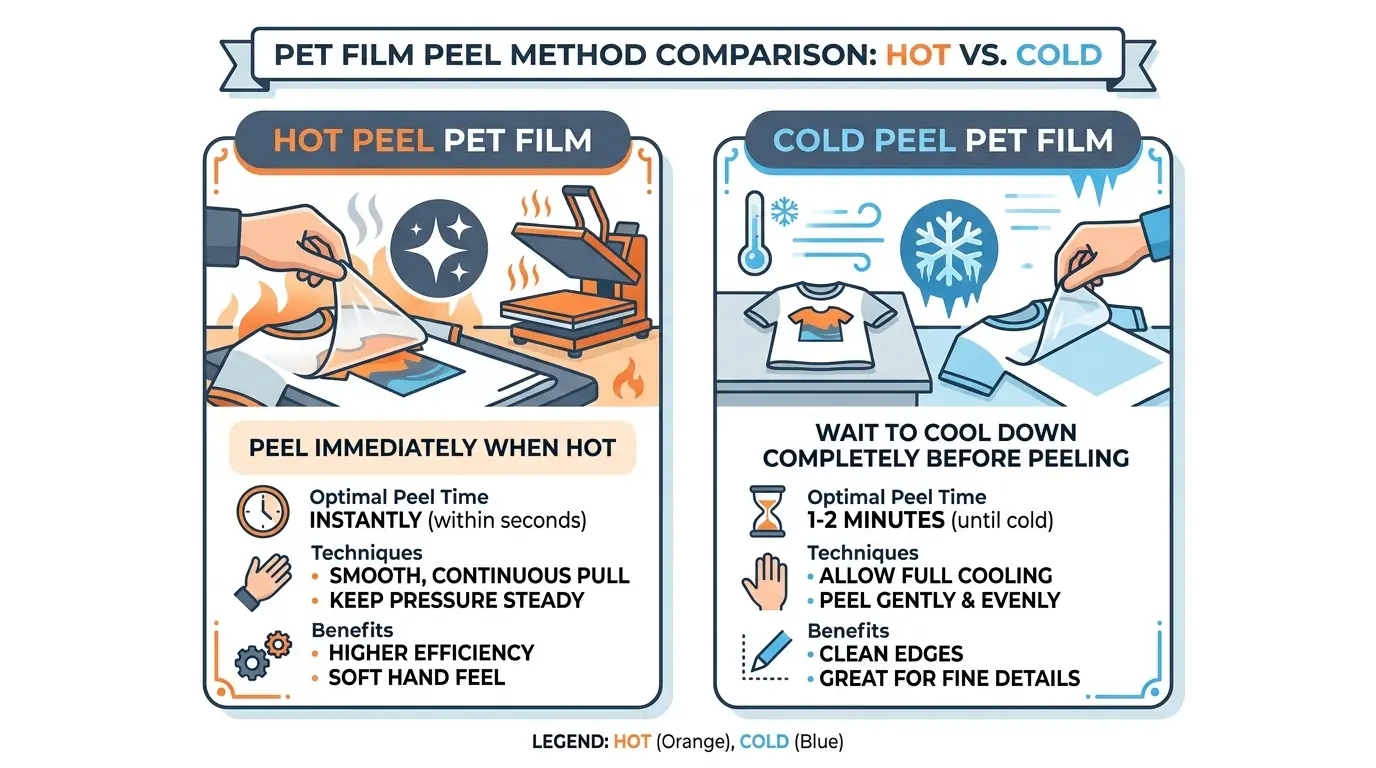
Figure 3: Peeling comparison — Hot Peel vs. Cold Peel PET film techniques
Hot Peel Film: Designed to release the carrier sheet immediately (within 1–3 seconds) after the press opens while the adhesive is hot. Peeling immediately ensures a soft-hand feel but requires a quick, steady pulling motion.
Cold Peel Film: Must cool completely to room temperature (typically 1–2 minutes) before removing the carrier sheet. Peeling cold peel film while warm will pull the ink away from the adhesive layer, causing the edges to lift and peel after washing.
5 Steps to Guarantee 50+ Wash Durability
Follow this workflow to produce durable prints that resist cracking and peeling over long-term washing cycles.
Pre-Press the Garment for Moisture Removal
Always press your blank shirt for 5–8 seconds before placing the print. This drives out trapped moisture and flattens fabric fibers, creating a dry, smooth surface for bonding.
Use High-Grade, Dry TPU Adhesive Powder
Keep your adhesive powder in a sealed container with desiccant packs. Saturated powder forms clumps, leading to uneven melting, thin patches, and weak print edges.
Verify Curing Parameters Regularly
Use a laser thermometer to verify that your curing drawer or conveyor oven temperature matches the controller display. Oven temperatures can drift, leading to under-cured adhesive.
Execute a Post-Press (Second Press)
After peeling the PET carrier film, place parchment paper or Teflon over the print and press for 5–8 seconds. This seals the edges of the transfer deep into the fabric threads.
Follow Proper Wash and Care Instructions
Instruct customers to wash garments inside-out in cold water, avoid bleach and fabric softeners, and tumble dry on low heat or hang dry. This protects the polyurethane print layer.
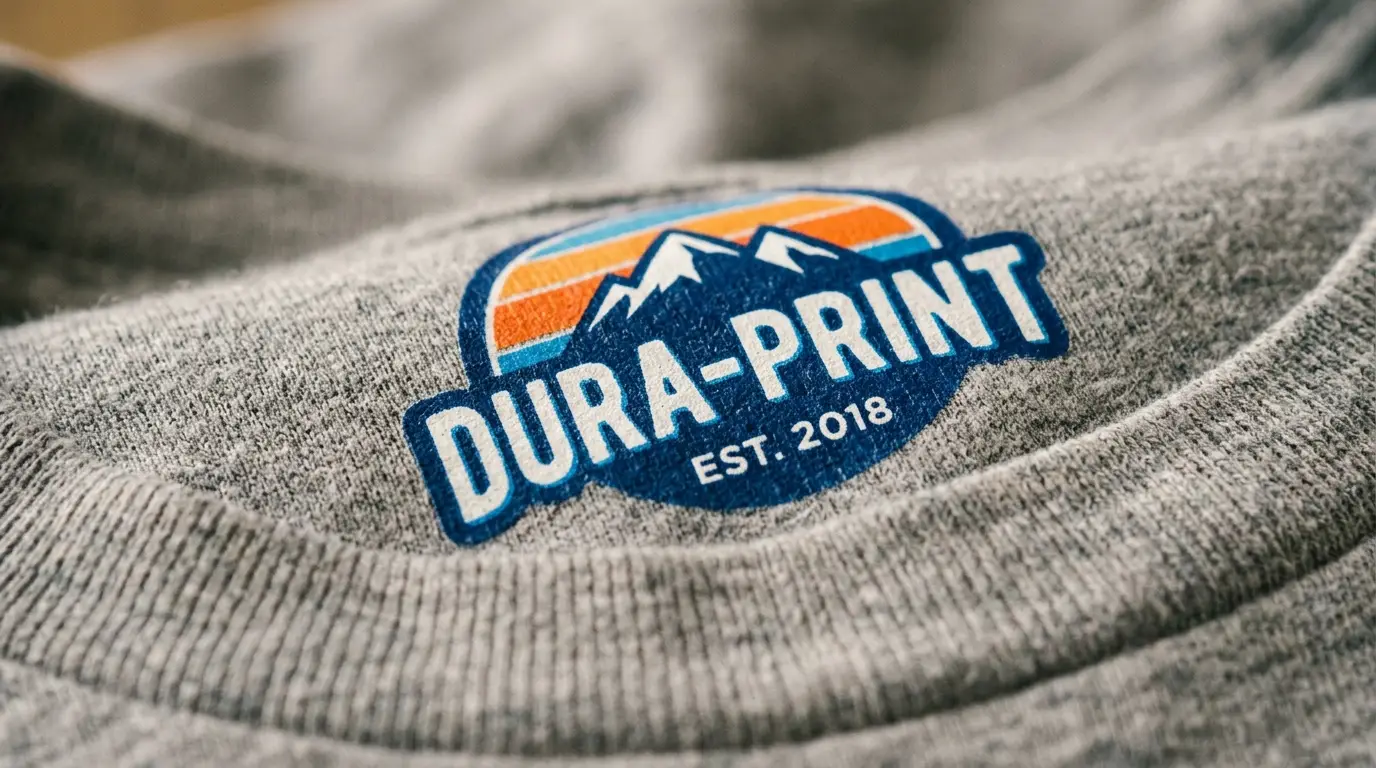
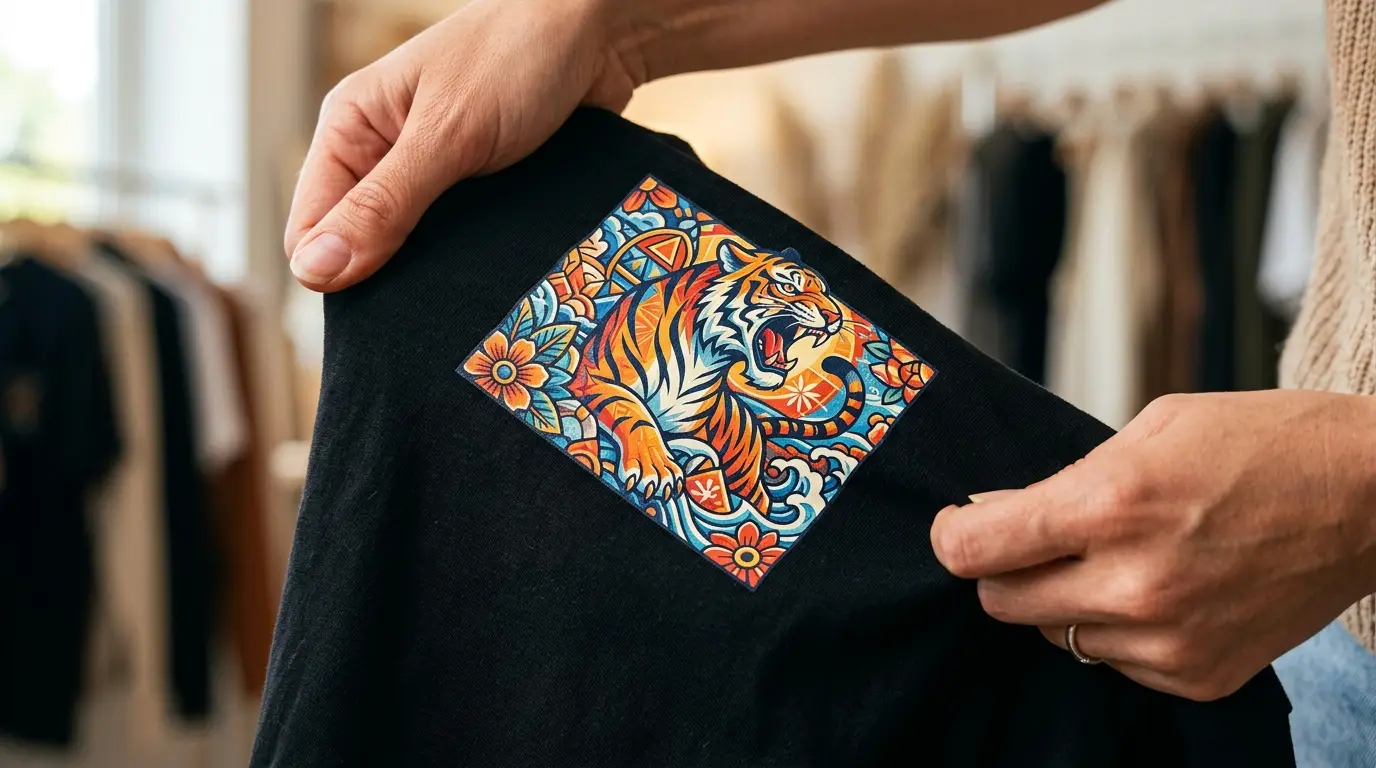
Figure 4: A high-quality DTF print showing excellent wash durability and flexibility after 50 wash cycles
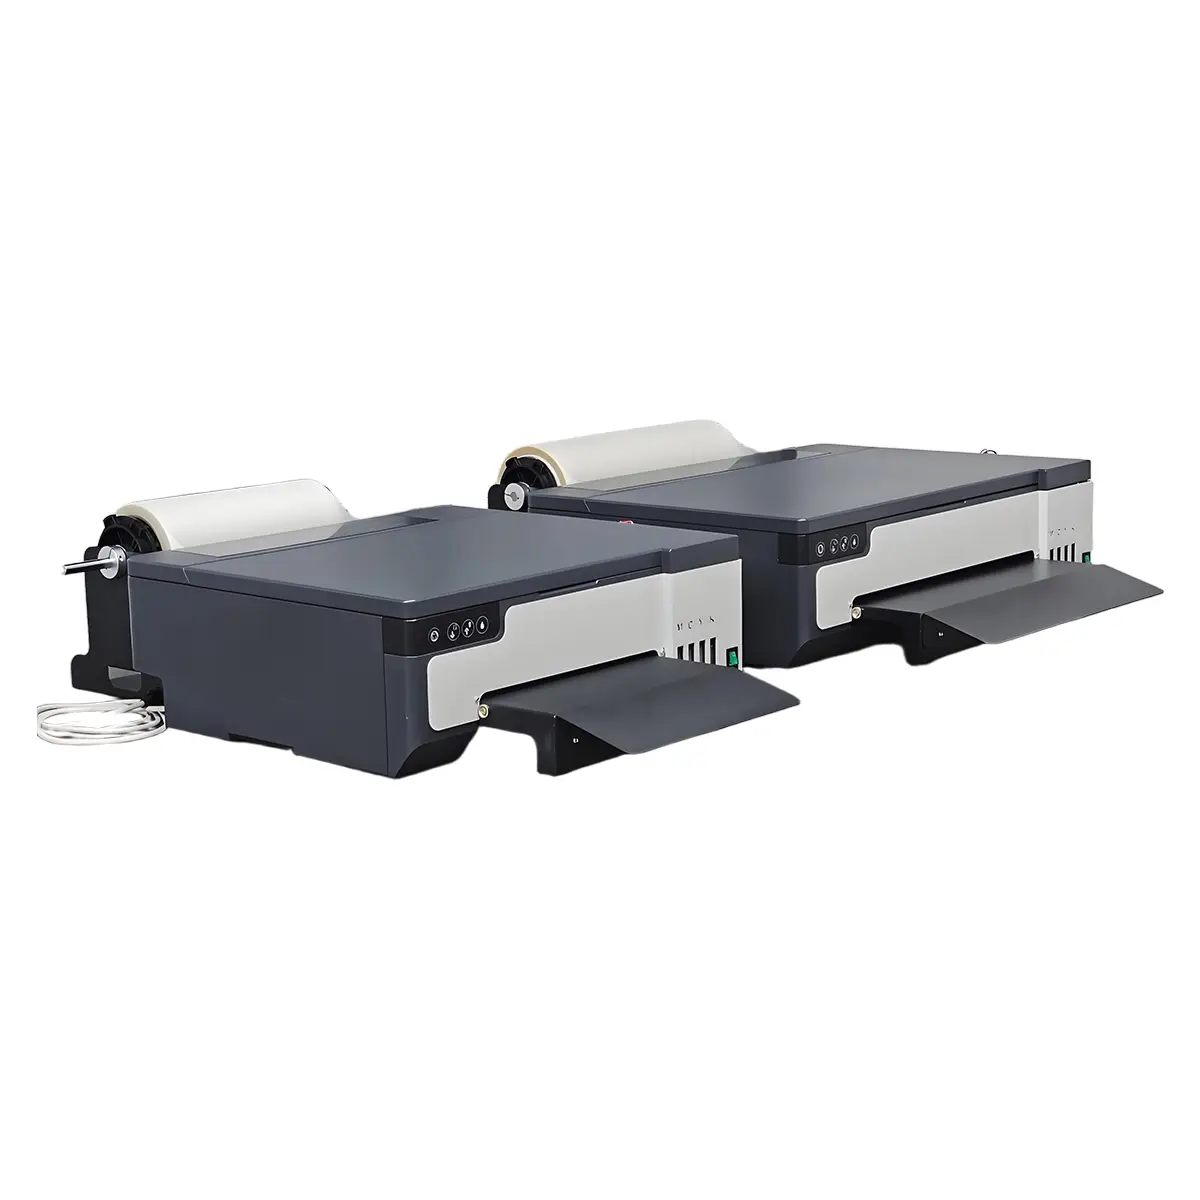
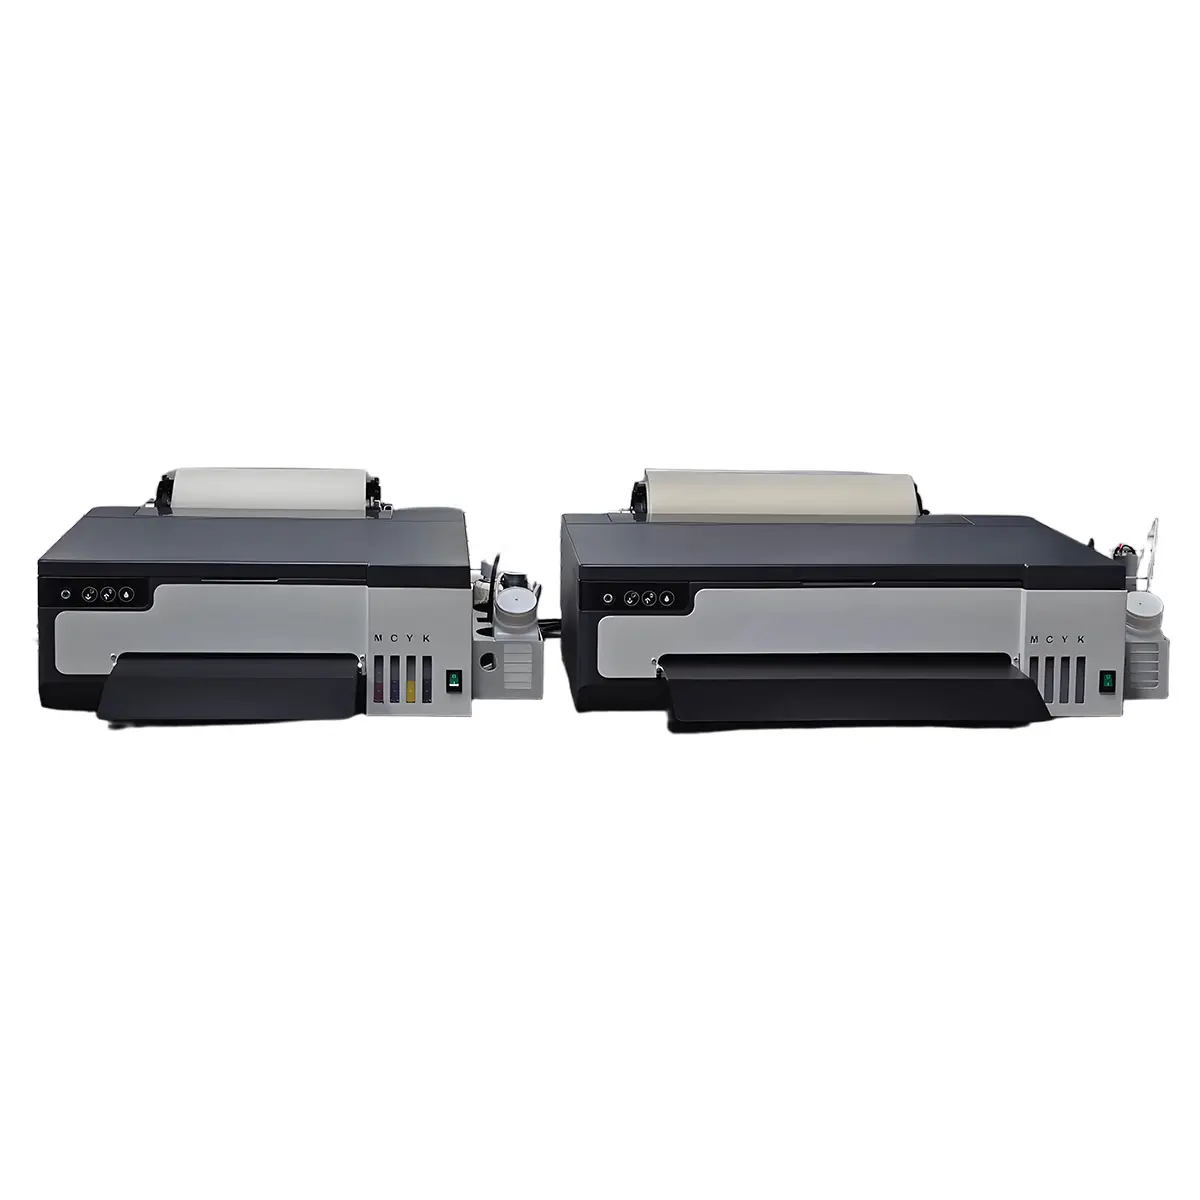
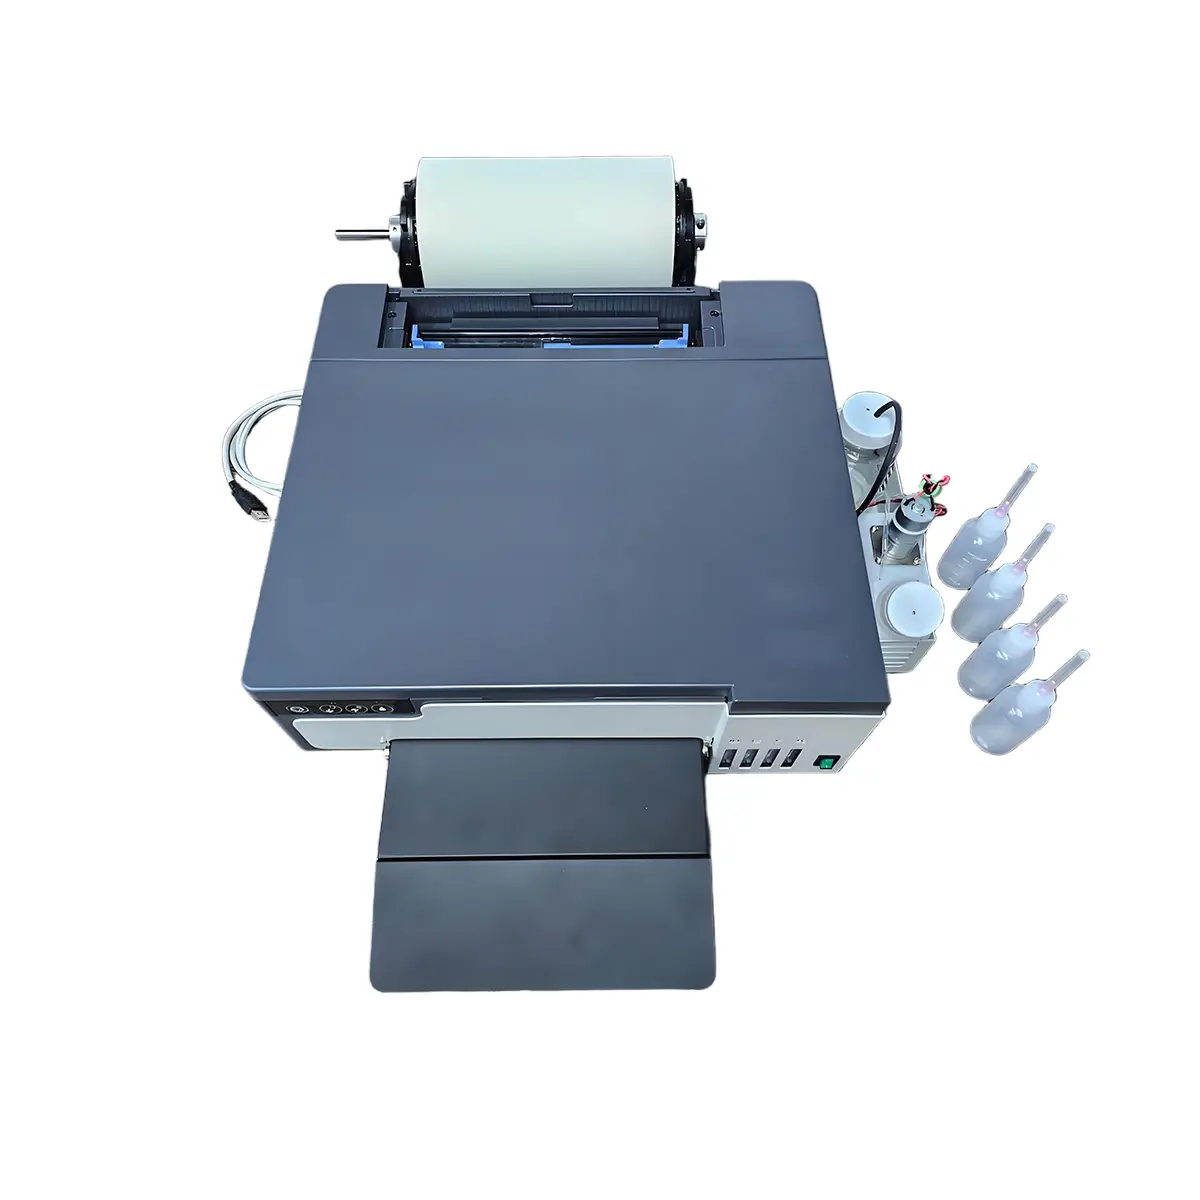
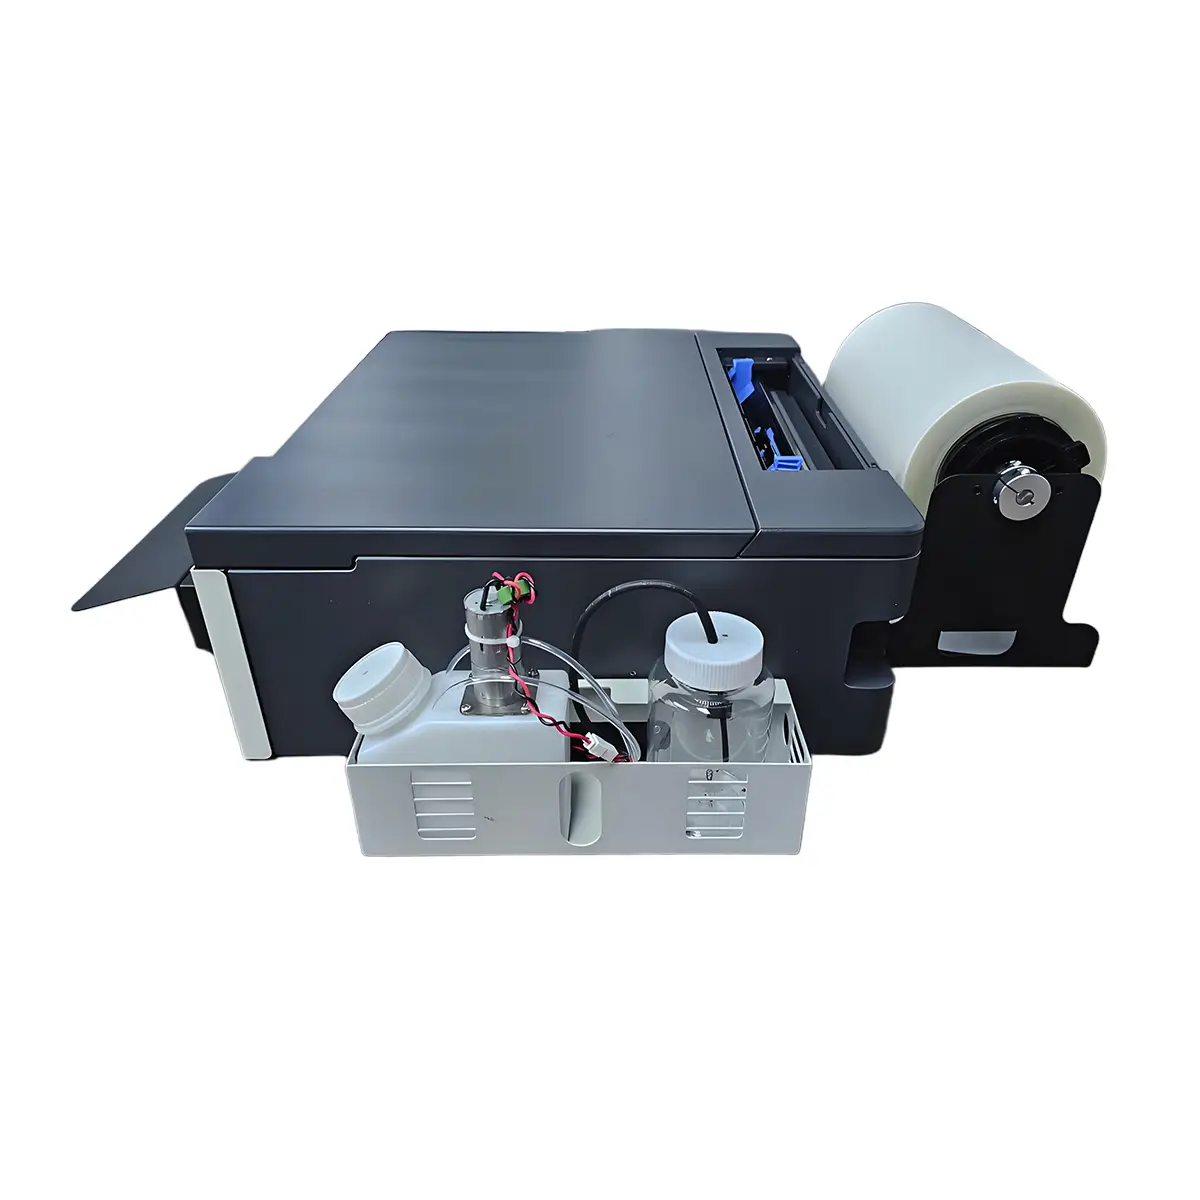
GNFEI A3 Roll-to-Roll DTF Printer & Shaker
- Continuous roll-to-roll printing — eliminates manual sheet feeding
- Integrated automatic powder shaker and infrared curing dryer
- Dual EPSON XP600 printheads for high speed and sharp resolution
- White ink recirculation and stirring systems to prevent clogging
- Precise heat control for consistent curing temperature
- Produces prints with 50+ wash cycle durability and soft feel
Frequently Asked Questions
Why are my DTF transfers cracking after washing?
Why do my DTF prints peel off the shirt?
What is the correct curing temperature for DTF adhesive powder?
What are the correct heat press parameters for applying DTF transfers?
Should I peel my DTF film hot or cold?
What is a post-press, and why is it necessary for DTF transfers?
How do I prevent garment moisture from ruining my DTF transfers?
Does adhesive powder quality affect print cracking?